Connect
Connect your backend and clients to Rivet with a single endpoint URL that carries the namespace and token.
Local Development
No configuration is needed. RivetKit runs Rivet Actors entirely on your machine, and rivet dev starts a local control plane when you need one.
The Rivet Endpoint
Everything that talks to Rivet is configured with one URL, the Rivet endpoint. It carries three pieces of information:
https://<namespace>:<token>@api.rivet.dev
- Host: The control plane to connect to. Rivet Cloud is
api.rivet.dev. Self-hosted deployments use their own host. - Namespace: The isolated environment your Actors live in, such as
productionorstaging. See Namespaces. - Token: Authenticates the connection and scopes it to that namespace. The token prefix tells you where it is safe to use:
| Prefix | Kind | Where it lives |
|---|---|---|
sk_ | Secret | Your backend and workers only. Full access to the namespace. |
pk_ | Public | Browsers and mobile apps. Can resolve, create, and connect to Actors. |
ck_ | Connection | Browsers and mobile apps. Can only resolve Actors and open connections. |
Create tokens in the dashboard under your namespace, or with the CLI:
rivet token create --kind secret --namespace production
Connect Your Backend
Set RIVET_ENDPOINT with a secret token wherever your workers run. This is the only setting most deployments need.
On Rivet Cloud, copy the ready-made value from the dashboard under Settings → Namespace → Advanced → Backend Configuration.
Connect Your Clients
Clients reach your Actors through the control plane’s gateway, never through your backend directly. Point them at the same endpoint with a public token instead of a secret one.
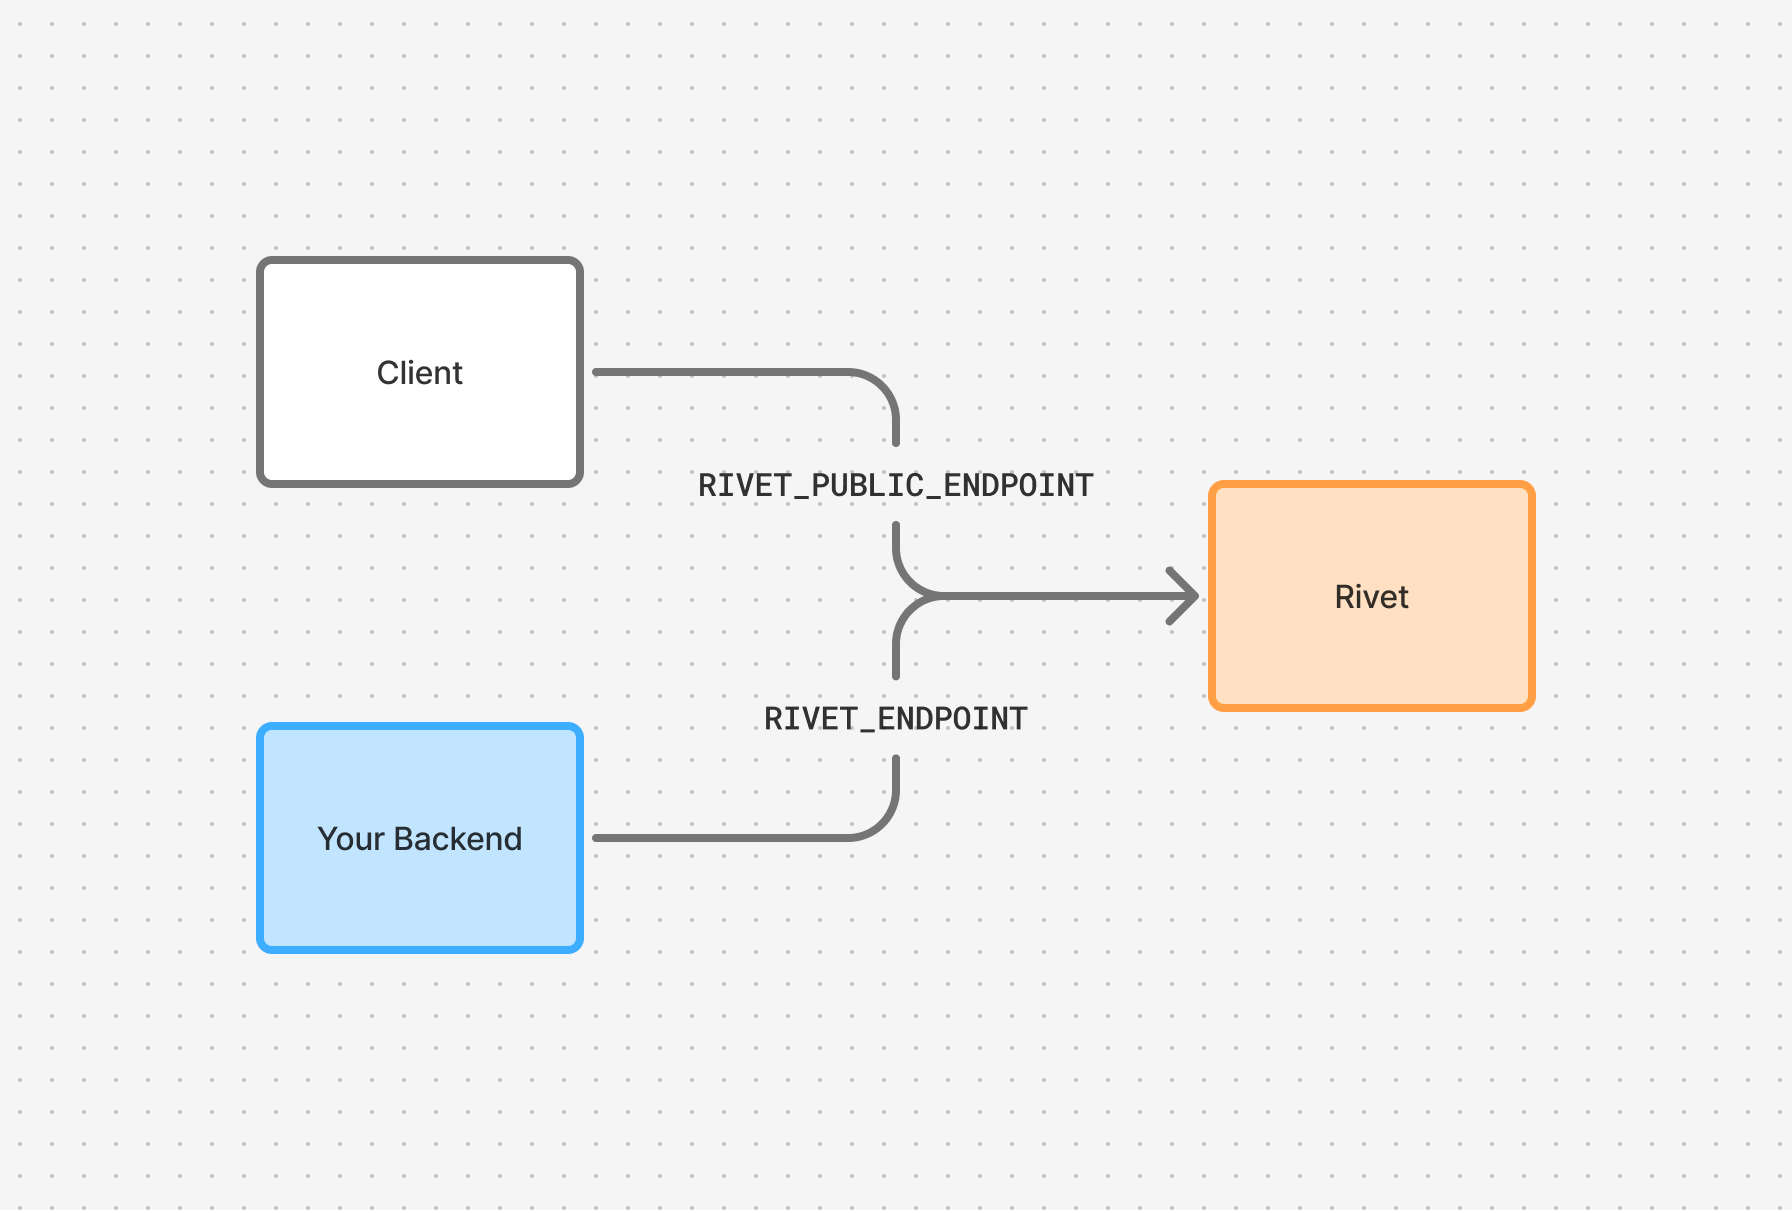
Environment Variable
RIVET_PUBLIC_ENDPOINT=https://my-namespace:pk_xxxxx@api.rivet.dev
RIVET_PUBLIC_ENDPOINT is only needed when a RivetKit frontend fetches its configuration from a serverless backend. A client that is constructed with an endpoint directly, as in the JavaScript, React, Swift, and Rust client guides, passes the URL itself and skips this step.
URL Auth Syntax
Embedding the namespace and token in the URL is the recommended form because it is one value to manage. If your platform cannot store credentials inside a URL, the same three values can be set separately:
RIVET_ENDPOINT=https://api.rivet.dev
RIVET_NAMESPACE=my-namespace
RIVET_TOKEN=sk_xxxxx
| Environment Variable | Config Option | Description |
|---|---|---|
RIVET_ENDPOINT | endpoint | Control plane URL for your backend |
RIVET_NAMESPACE | namespace | Namespace to run Actors in |
RIVET_TOKEN | token | Token for the backend connection |
RIVET_PUBLIC_ENDPOINT | serverless.publicEndpoint | Client-facing endpoint |
RIVET_PUBLIC_TOKEN | serverless.publicToken | Client-facing token |
Beyond Tokens
Namespace tokens are enough to connect a backend and to let trusted clients in. For per-user identity, short-lived credentials, or restricting which Actors a client may reach, use JWTs or ACL rules on top of them. See Authentication for the full set of options.